 iStateBar
iStateBar guide
Customizable Mac Menu Bar & Floating Monitor
A useful monitor should fit your workspace. Start with the information you need, then choose its colors, density and position.
Choose colors that are easy to read
Use the global Theme color for a consistent look, or choose an individual color for each supported module. CPU and GPU have separate choices. Color previews show the actual selection before you apply it. The palette includes blue, green, teal, purple, pink, orange, red, yellow and indigo.
Adjust the density
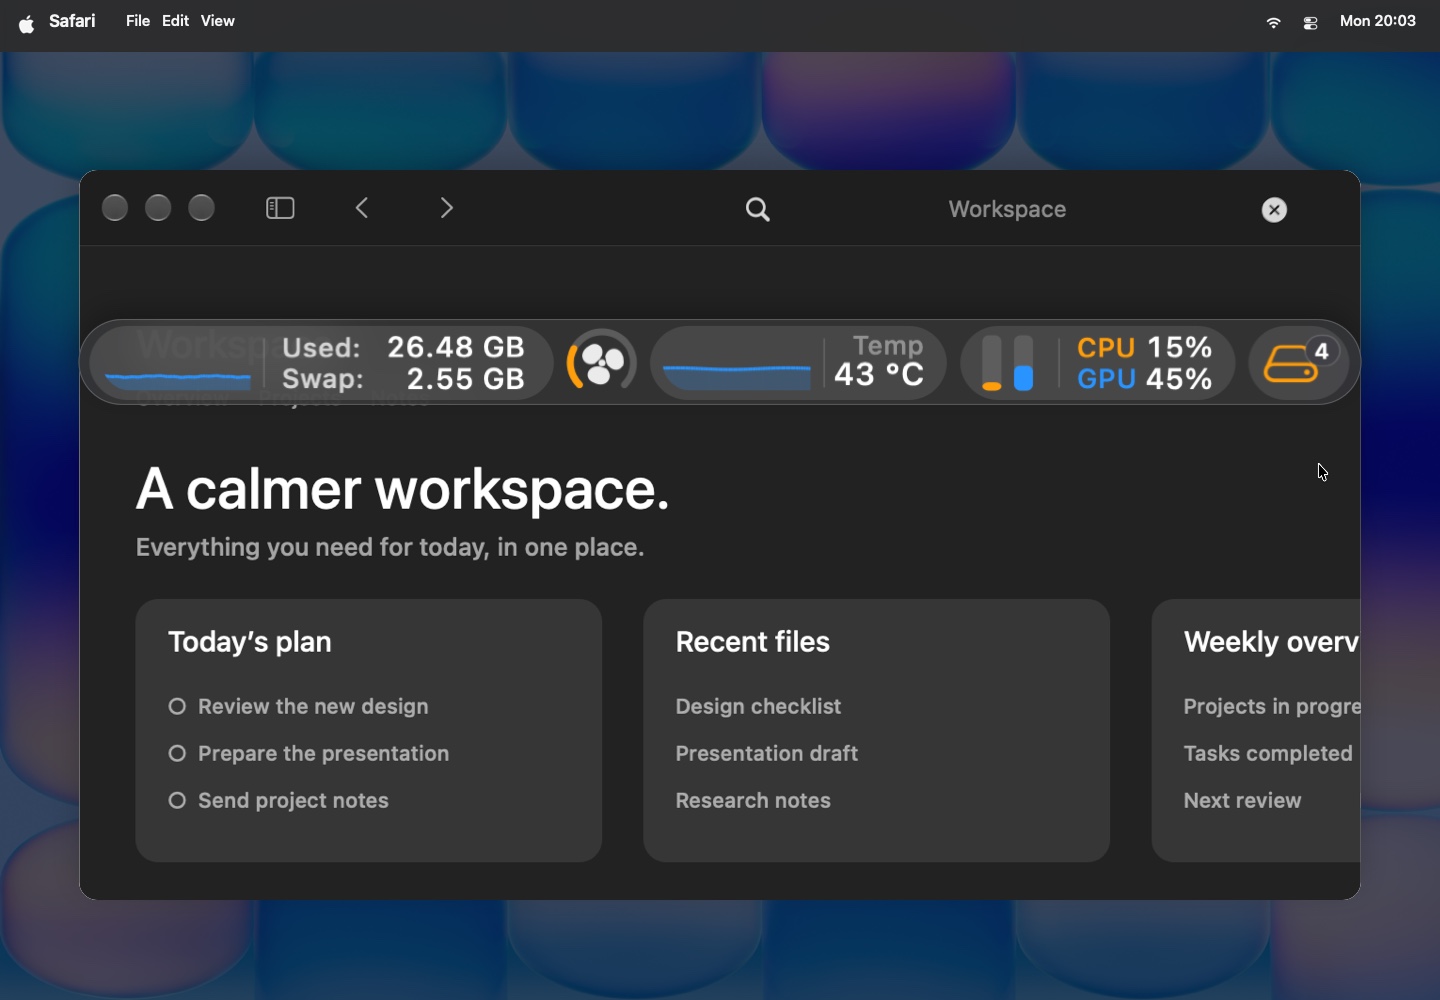
Enable the modules you want, reorder them by dragging their headings or using Sort, and adjust chart length and block spacing. Choose shorter CPU / GPU readouts or fewer memory values when the menu bar is busy. The visual forms include pill-shaped readouts, rounded panels and circular gauges; different metrics have different display options.
Move from menu bar to desktop
- Drag the monitoring bar away from the menu bar to place a floating view on the desktop.
- Position it near your working window, where the readings remain easy to glance at.
- Adjust opacity at the bottom of the panel, and choose always-on-top in Floating settings.
- Choose whether it should hide automatically in fullscreen.
Choose the panel that fits
Details is compact and expands one module at a time. Overview opens a wider, organized view with the modules and inline settings together. Switch between them from the bar. The interface uses glass, rounded controls and short transitions to stay close to the feel of macOS.
Try it on your Mac.
7 days. All features. No signup.